Classic Red Candy Apples
Highlighted under: Classic Collection
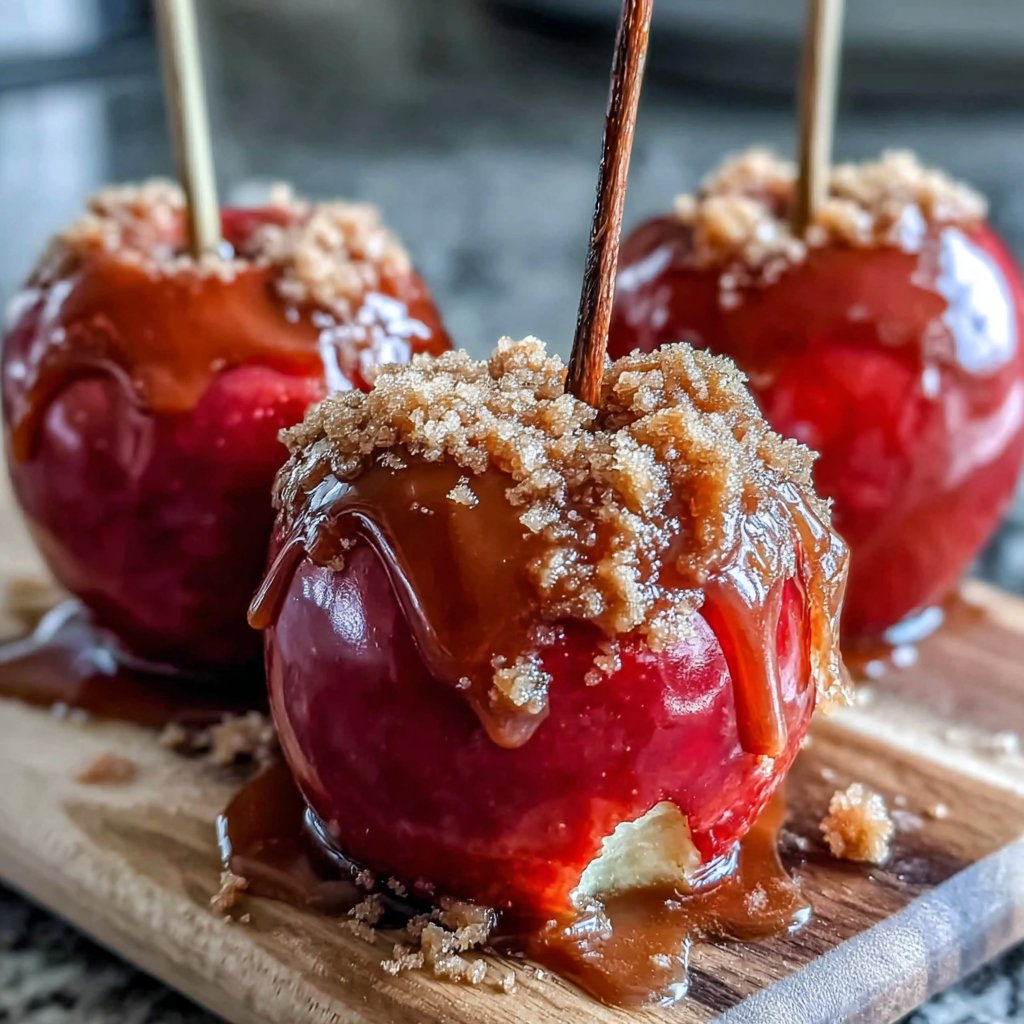
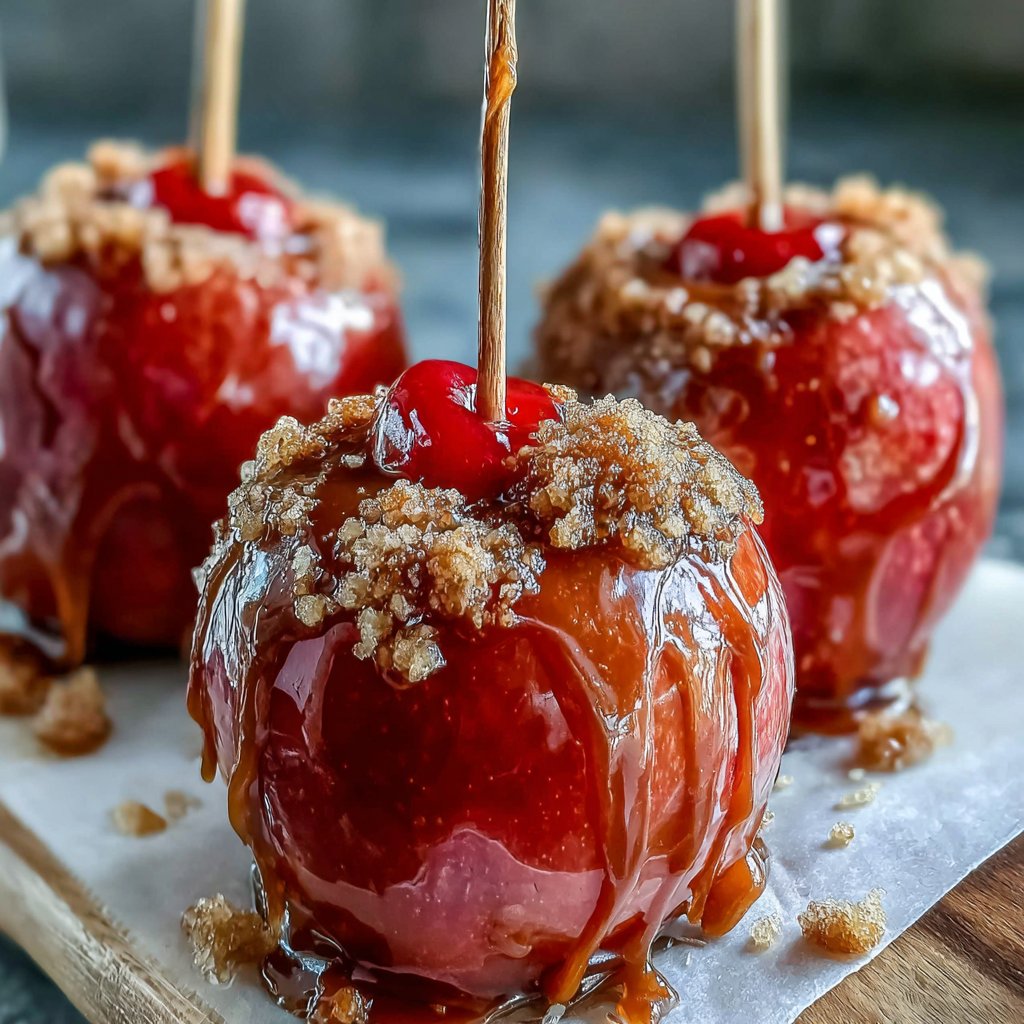
I absolutely love making Classic Red Candy Apples, especially during the fall season. There's something magical about the vibrant red glaze that coats a crunchy apple. Each bite delivers a burst of sweetness that perfectly contrasts the tartness of the fruit. The process of dipping the apples and watching the candy harden is incredibly satisfying. Plus, they make for a fun treat at parties or a delightful snack for the kids. Let me share my tips on how to get that perfect candy coating every time!
I vividly remember the first time I bit into a candy apple as a child. The crispness of the apple, enveloped in a glossy, sweet candy coating, was a taste sensation I could never forget. Since then, I've perfected my candy-making skills, ensuring the sugar syrup reaches the right temperature for a flawless finish. If you're unsure about the hard crack stage, using a candy thermometer can save you from a sticky situation.
What truly makes these candy apples shine is the cooling process. Once dipped, placing them on a greased surface helps prevent sticking. I often experiment with different sprinkles or nuts, but the classic bright red coating always steals the show. These sweets are not just a treat; they evoke nostalgia and are sure to impress your guests!
Why You Will Love This Recipe
- The classic, nostalgic flavors that take you back to childhood.
- A perfect balance of sweet candy and tart apple for a mouthwatering bite.
- A fun activity for kids and adults alike, great for fall gatherings!
Perfecting Your Candy Coating Technique
Achieving the ideal candy coating is all about temperature control. When boiling your sugar mixture, the mixture needs to reach precisely 300°F, known as the hard crack stage. At this temperature, the candy will harden correctly once cooled. If it's too low, your candy coating will be sticky and will not fully set. A reliable candy thermometer is an essential tool here. I recommend calibrating it first to ensure accuracy, as even a few degrees can make a big difference.
As you stir the mixture, ensure that you don’t introduce any moisture, which can lead to sugar crystallization. Utilize a clean, dry spatula and avoid splashing any water into the boiling candy. If you notice sugar crystals forming on the side of the pan, use a wet pastry brush to gently wipe down the sides. This will keep your candy coating smooth and glossy.
Choosing the Right Apples
The type of apple you choose will greatly impact the flavor and texture of your candy apples. While red varieties like Fuji, Gala, or Honeycrisp work wonderfully due to their sweetness, you can also experiment with tart apples like Granny Smith for a delicious contrast. Their crispness ensures a satisfying crunch when you bite into them. Remember to select firm apples; soft apples won’t hold up well under the candy coating.
When preparing your apples, it's crucial to remove any waxy coating, which could prevent the candy from adhering properly. I recommend washing them with a mixture of water and a bit of vinegar for an effective clean. After washing, make sure to dry them thoroughly; any moisture left will affect the candy’s texture and adherence.
Storing and Serving Candy Apples
Once your candy apples have cooled and hardened, they can be stored in an airtight container at room temperature for up to two days. Avoid refrigerating them, as the moisture can make the coating tacky. If you want to make these ahead of time for a party, it's best to prepare them no more than two days in advance to maintain both flavor and texture.
For serving, consider adding a touch of flair by drizzling melted chocolate or sprinkling crushed nuts on top of the hardened candy coating. This not only enhances their presentation but also adds an additional layer of flavor that complements the apple beautifully. You can also serve them on a decorative platter for a festive look during fall gatherings.
Ingredients
Gather these ingredients for your candy apples:
For the Candy Coating
- 2 cups granulated sugar
- 1 cup water
- 1 cup light corn syrup
- 1/2 teaspoon salt
- 1 teaspoon red food coloring
- 6 medium apples (red varieties work best)
- Wooden sticks or skewers
Make sure to wash the apples well and dry them before dipping.
Steps to Prepare
Prepare the Apples
Wash the apples thoroughly and dry them completely. Insert a wooden stick into the top of each apple.
Make the Candy Coating
In a saucepan over medium heat, combine the sugar, water, corn syrup, and salt. Stir until sugar is dissolved. Bring to a boil but do not stir.
Check the Temperature
Use a candy thermometer to check when the mixture reaches 300°F (hard crack stage). This step is crucial for the candy to set properly.
Add Color
Remove the pan from heat and quickly stir in the red food coloring until fully combined.
Dip the Apples
Carefully dip each apple into the candy mixture, ensuring it's fully coated. Allow excess candy to drip back into the pot.
Cool the Apples
Place the dipped apples on a greased cookie sheet or wax paper to cool and harden for about 30 minutes.
Enjoy your delicious candy apples with friends and family!
Pro Tips
- For an extra touch, try rolling the candy-coated apples in crushed nuts or sprinkles before they set. This adds a delightful crunch and visual appeal.
Substitutions and Variations
While red food coloring is traditional for these candy apples, you can explore other colors to match any occasion. Gel food coloring not only provides vibrant hues but is also more concentrated, so you use less. If you're looking for an all-natural alternative, consider using beet juice or another fruit puree; however, keep in mind that this may alter the consistency of your candy coating slightly.
For a different twist, try infusing your sugar mixture with flavors. Adding a teaspoon of cinnamon or vanilla extract just before removing the mixture from heat can add depth to your candy apples. Another fun variation is rolling the cooled candy apples in crushed graham crackers or caramel bits for added texture and flavor.
Troubleshooting Common Issues
If your candy coating isn’t setting properly, the most likely culprit is temperature. Make sure your candy thermometer is accurate; if it’s too low, the coating may turn out gooey. If you’ve missed the ideal temperature, the mixture can also become overly viscous. In this case, you can try reheating it slightly to get the right consistency back before dipping the apples.
Should you find your apple coatings aren’t smooth, this can often be solved by straining the mixture before dipping. This removes any sugar crystals that may have formed during cooking. Additionally, if the coating is too thick, dip your apples for a shorter time to achieve a thinner layer which could provide a more appealing crunchy bite.
Questions About Recipes
→ Can I use different types of apples?
Absolutely! While red apples are traditional, feel free to experiment with green apples for a tart contrast.
→ What if my candy coating is too sticky?
Ensure that your syrup reaches the hard crack stage at 300°F; this is key for the right texture.
→ How do I store leftover candy apples?
Store them in a cool, dry place in an airtight container. They are best enjoyed fresh but can last a few days.
→ Can I make these in advance?
It's best to enjoy them on the day they are made, but you can prepare the apples a day ahead and dip them just before serving.
Classic Red Candy Apples
Created by: Loretta Winslow
Recipe Type: Classic Collection
Skill Level: Easy
Final Quantity: 6 servings
What You'll Need
For the Candy Coating
- 2 cups granulated sugar
- 1 cup water
- 1 cup light corn syrup
- 1/2 teaspoon salt
- 1 teaspoon red food coloring
- 6 medium apples (red varieties work best)
- Wooden sticks or skewers
How-To Steps
Wash the apples thoroughly and dry them completely. Insert a wooden stick into the top of each apple.
In a saucepan over medium heat, combine the sugar, water, corn syrup, and salt. Stir until sugar is dissolved. Bring to a boil but do not stir.
Use a candy thermometer to check when the mixture reaches 300°F (hard crack stage). This step is crucial for the candy to set properly.
Remove the pan from heat and quickly stir in the red food coloring until fully combined.
Carefully dip each apple into the candy mixture, ensuring it's fully coated. Allow excess candy to drip back into the pot.
Place the dipped apples on a greased cookie sheet or wax paper to cool and harden for about 30 minutes.
Extra Tips
- For an extra touch, try rolling the candy-coated apples in crushed nuts or sprinkles before they set. This adds a delightful crunch and visual appeal.
Nutritional Breakdown (Per Serving)
- Calories: 340 kcal
- Total Fat: 0g
- Saturated Fat: 0g
- Cholesterol: 0mg
- Sodium: 25mg
- Total Carbohydrates: 83g
- Dietary Fiber: 4g
- Sugars: 72g
- Protein: 0g